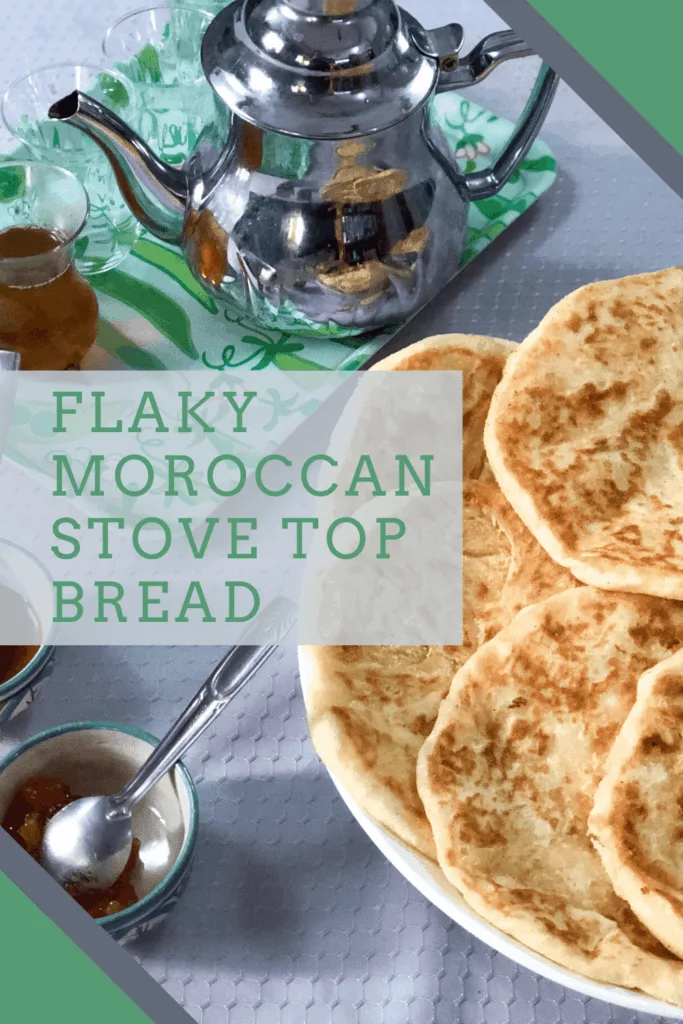
If you’re wondering what I am trying to name this recipe, the truth is I have no clue what this kind of bread is actually called. I didn’t even know this kind of bread existed until a friend shared an Arabic YouTube video of it being made. I then showed my sister in law who was like “yes obviously this bread exists and I can show you how to make it.”
So the moral of the story is ask and you shall receive.
But, then I started asking everyone I could find what the name for this bread is and no one knew. They just kept saying msemmen batbout. So, I rolled with it and give you “msemmen batbout!”
This is a stovetop bread, like both of the aforementioned breads and I think a bit easier to make than regular msemmen. We actually all said we prefer this one because the soft flaky layers in the middle vs. the normal crunchy/chewier texture of msemmen.
The ingredients are very simple, it’s the process that creates a different final result.
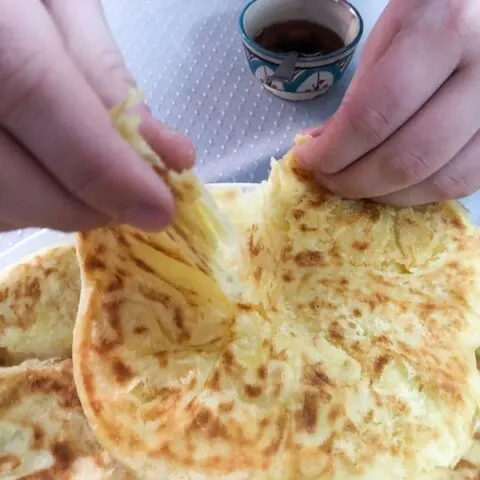
Msemmen Batbout Bread
This bread is a combination of Moroccan msemmen and Moroccan batbout bread. The final product is a flaky, pillowy bread that is delicious with honey.
Ingredients
- 3 cups all-purpose flour
- 2 cups semolina flour
- 2 tsp salt
- 1 tsp dry activated yeast
- 2 tsp sugar
- warm water
- - 1/2 cup vegetable (any unflavored oil)
- - 14/ cup melted butter
- extra semolina for dusting
- non stick pan for cooking
Instructions
To make this bread does require a few steps. I have taken several pictures to walk you through it as well as a video that will show you the folding technique for the bread.
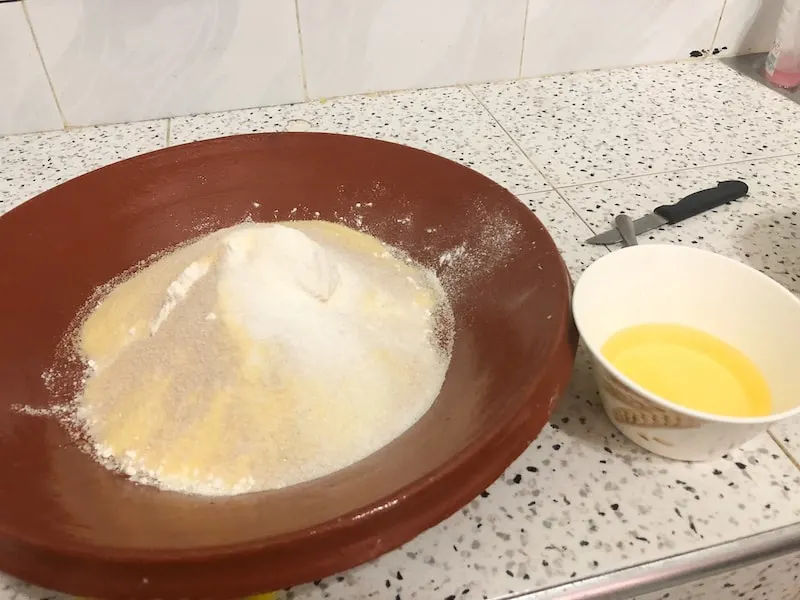
You'll want to have a large work surface. I usually knead my bread and pasta flour right on the counter top but if you have a butcher block or large cutting board that works too.
Combine the flour and semolina as well as the salt, sugar and yeast all together. Create a small well in the middle.
Begin pouring in warm water a little at a time. There's no exact amount of water to add. You'll need to add and knead as you go.
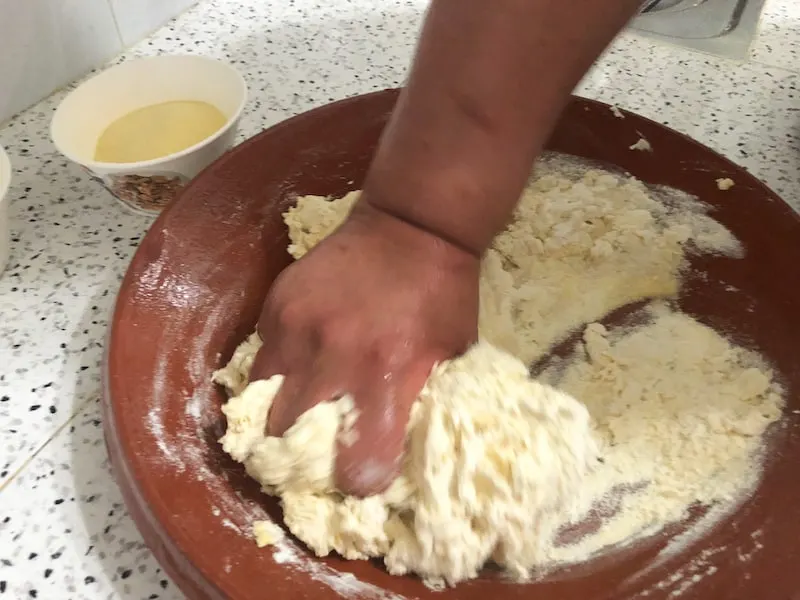
Keep working the dough. My sister in law has always told me listen until it starts to sound like snapping chewing gum when you push it down and pull it back. Then it's ready. The final texture shouldn't be sticky, but smooth with a little resistance.
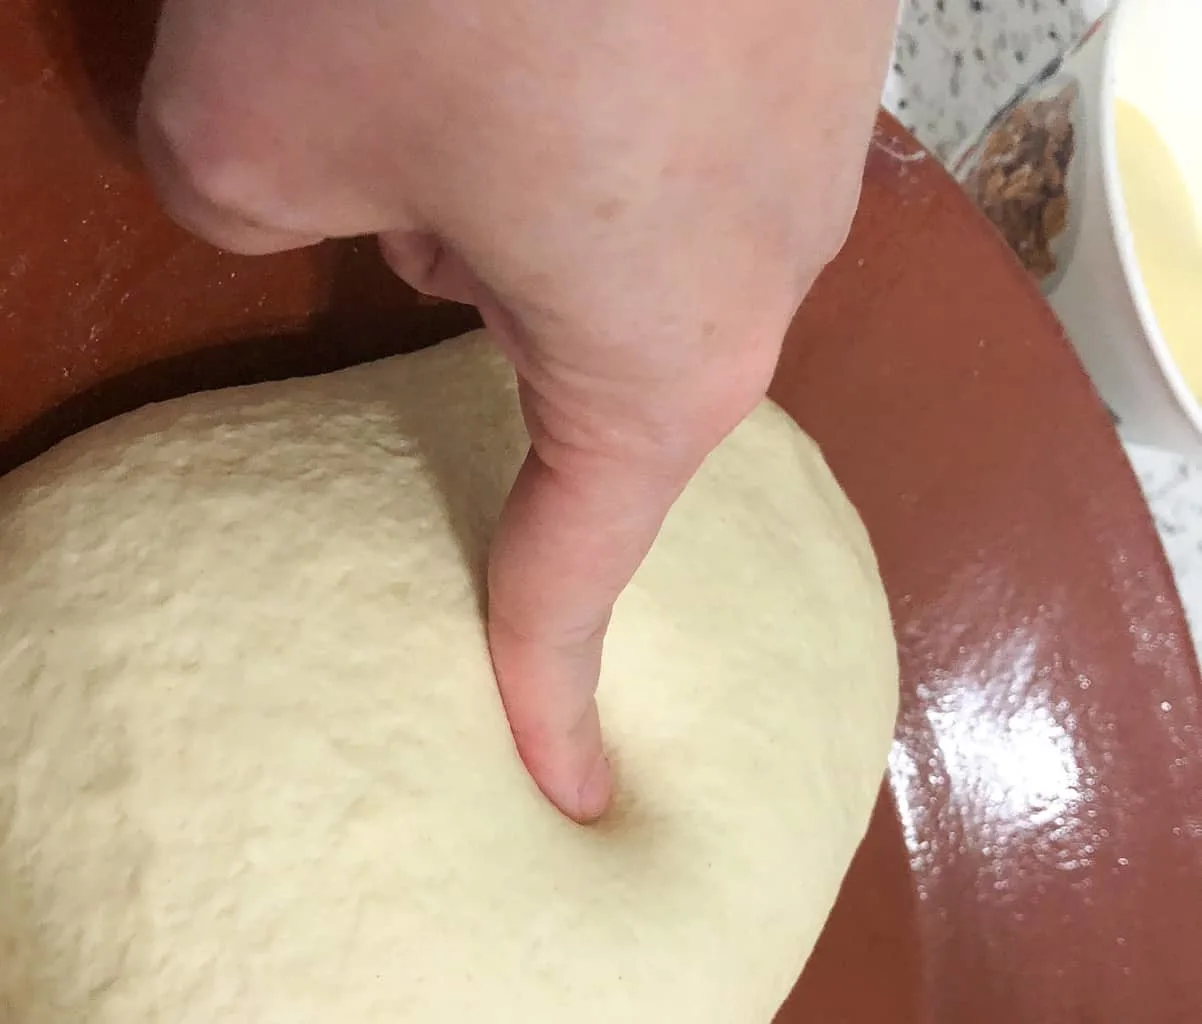
Allow the dough to rest for 15 minutes. Then break off equal parts of the dough to form smaller balls. These will become the individual breads.
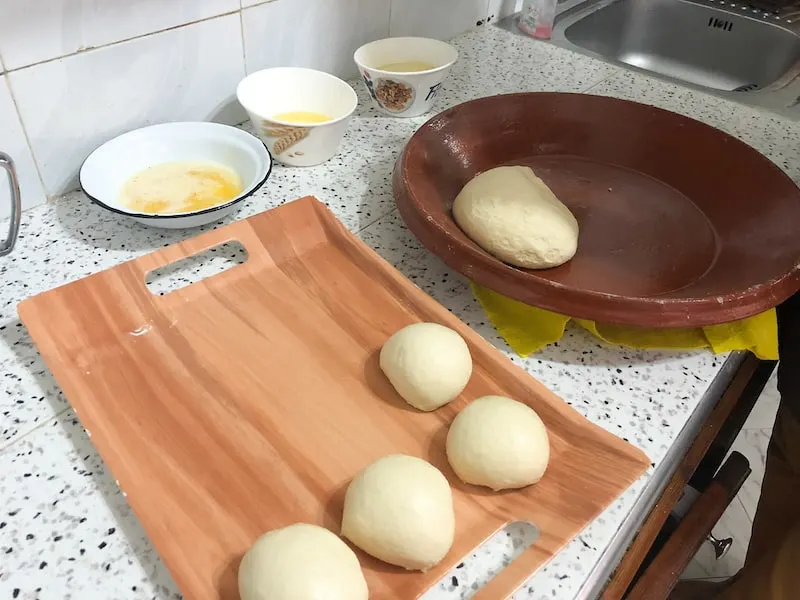
Give the smaller balls an additional 10 minutes of resting time. On your workspace spread some oil and begin to flatten the first ball. Work from the center and push outwards. When the dough has doubled it's size flip it, adding more oil to the top and continue pressing from the center outward. (the video will help illustrate this).
You will create a large round piece of dough that should be see through. Coat the dough with butter and sprinkle with semolina. Fold one side down to create a triangle, and then do the same on the opposite side. Add more butter and semolina to the area that has been exposed from the folding.
Repeat this until you've created a shape a bit like a pentagon. Set aside and continue to the next piece of dough.
When you have 3, the first dough has rested and can move to the next step.
Gather the edges and fold them in on themselves again. Then pull up all of the corners to create a bundle. Twist the combined edges to form a seal and flip over. You will have created a thick dough ball.
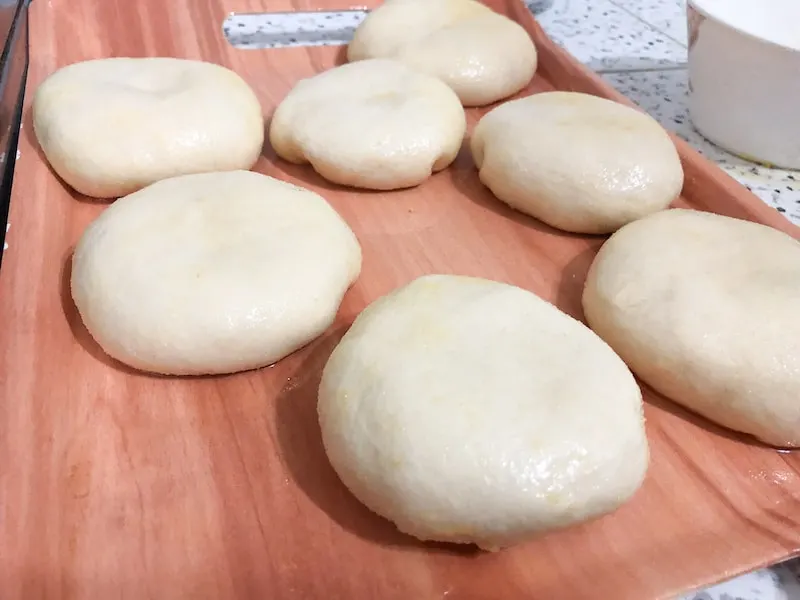
Continue doing this process until all of the dough has been made into the parcels. Use butter and oil liberally as you prepare the bread.
To cook you'll heat a non-stick skillet to medium heat. Start with the first dough ball you created and working from the center outward flatten it to approximately 1/4" thickness. Add some oil to the skillet and place the bread in the pan. Cook for 2-3 minutes on the first side. Flip and cook an additional 2-2 minutes on the opposite side.
You should end up with bread that is browned and a bit crispy on the outside. Repeat until all of the bread has been cooked.
Serve with honey or jam and of course mint tea!
Notes
The butter and oil measures are approximate you may need more depending on how heavy handed you are with them.
Video showing how to fold the dough
If you want to try your hand making the classic recipes for the two breads that are combined here I also have the original recipes.
Of course you’ll need the tea too – Moroccan Mint Tea
There’s still more Moroccan bread recipes that you can explore!
