
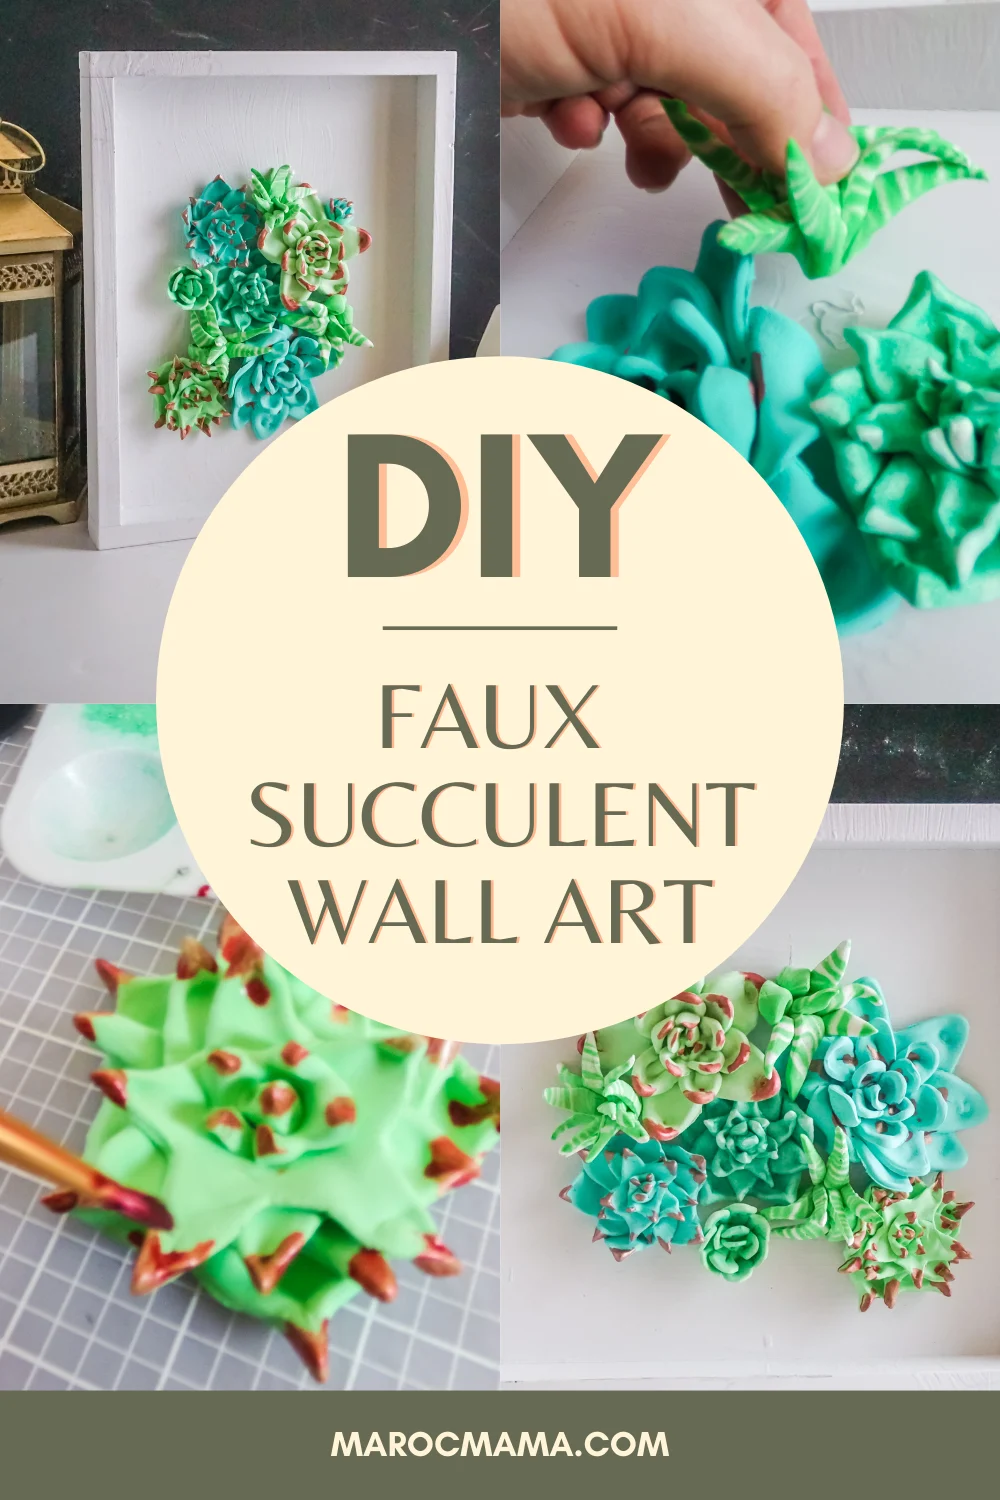
This simple DIY Faux Succulent Wall Art is a beautiful and easy craft to make. Not only does it add a bright spot of color to your home and wall space easily, but it’s a plant that you never have to worry about actually taking care of and keeping alive!
The best part about this easy wall art activity? You’re actually making the “succulents” out of clay! How fun is that? Not only does this mean that you’ll get to mold and shape them but it also means that you’ll get to paint them fun and funky colors as well.
While there are directions for making this faux succulent craft, you’ll be able to make the succulents as big or as little as you want. And if you want to make more than one, do so! You can literally have one of these in every single room.

How long will it take for the clay to try?
It’s hard to know an exact time but you will need to be patient. The part that will help is that you’ll be applying paint over the clay and once the paint dries, it will then help to seal it and give it a nice hard outer seal.
If you try and pick up the clay and notice that it’s really soft or you just get a feeling that it needs more time, just let it dry a bit more before you try and superglue it into place.
Great Ways to Share This Wall Art Framed Succulent
If you’re anything like me, once you start crafting you just can’t stop. This means that you might find that you have more faux art than you know what to do with. Don’t stress and don’t get rid of them! Instead, hold onto your creations because they’ll be perfect as fun gift ideas or homemade welcoming gifts for family and friends.
Supplies Needed To Make Faux Succulent Wall Art
Supplies
- Model Magic Art Clay
- Food Coloring in Green and Blue
- Gold or Bronze Acrylic Paint
- Red, Yellow, Brown and White Acrylic Paint
- 12-inch Wood Canvas

DIY Faux Succulent Wall Art
Materials
- Model Magic Art Clay
- Food Coloring in Green and Blue
- Gold or Bronze Acrylic Paint
- Red, Yellow, Brown and White Acrylic Paint
- 12-inch wood canvas
Tools
- Paint Brush
- Hot Glue Gun & Glue
- Toothpicks
- Rolling Pin
- Cookie Cutters (shapes like bunny/star)
- Dowel
- Pencil
- Various Size Measuring Spoons
- Craft Knife
Instructions
- Start by painting your wood canvas white. Allow the paint to dry completely then add a second coat, if necessary for adequate coverage.
- To make the succulents, start by adding 4-5 drops of the green food coloring to a ½-cup portion of model magic clay and kneading the clay until the color is consistent throughout.
- Separate the green clay into 4-5 portions to make 4-5 balls to make 4-5 succulents. Repeat this step to make as much green clay as you determine you would like. Try making varied shades of green by adding more or less food coloring or adding a little blue food coloring to change the saturation of color.
- To make a “spikey flower” succulent, roll the green clay flat and about ¼-inch thick, then cut out varying star sizes using a craft knife or star cookie cutters.
- Use a teaspoon or half-teaspoon to press bowl shapes into each point of each star shape then pinch the tip of each point onto itself, forming a bit of a cup shape.
- Stack the star shapes on top of each other in graduating size with the largest on the bottom. As you stack one shape on top of the other, about every third star, press your thumb into the center of the stack of stars to press the clay pieces together and add a little bowl shape to the overall succulent.
- As you start to get to the smaller sizes of stars, wrap the center of the smaller sized stars around the end of your dowel, to give them a little curl-onto-itself shape.
- Finish stacking your star shapes and firmly press together to ensure the clay shape won’t fall apart after it dries. Paint the tips of the shape with a bronze, gold or dark red acrylic paint and allow the paint to dry completely.
- To make a “striped spikey” succulent, roll the green clay flat and about ⅛-inch thick, then roll a portion of white clay flat and about ⅛-inch thick. Lay the flat white clay on top of the green flat lay and gently roll the two together (not blending them, but pressing them together).
- Cut the stacked white and green clay into thin 1-inch squares using your craft knife, then stack these squares on top of each other and press them together.
- Turn the stack of green and white squares and cut them into 15-20 long, thin triangle shapes. Smooth the edges of the long, thin triangle shapes, pinching the ends to be very pointy.
- Join the wider bases of five of the triangles, making a star shape. Trim the length of five more triangles by ½-inch, on the larger end of the triangle base. Join these five triangles to those assembled into the star shape by pressing the wider ends into the center of the star shape.
- Repeat, building up the spiked star shape to your desired size, turning the spikes up and outward.
- To make the rounded “flower shape”, roll your green clay flat to about ¼-inch thickness. Cut out rounded shapes with a bunny ear portion of a bunny cookie cutter or a craft knife. Roll the center of the bunny ear shape with your dowel to give it depth.
- Press two of the bunny ear shapes together at the base to create an “x” shape with the ears. Cut 5-10 additional single bunny ear shapes, rolling them with the dowel for depth, trimming some to be smaller, and even pinching the base together in a rolled fashion to make them varied.
- Stack the bunny ear shapes on top of the initial “x” shape with the ears, layering them into the center to build a flower shape. Paint the interior of the curled portions of the shape with a dark paint and allow to dry completely.
- Repeat making as many succulents as desired. I made 11 or 12.
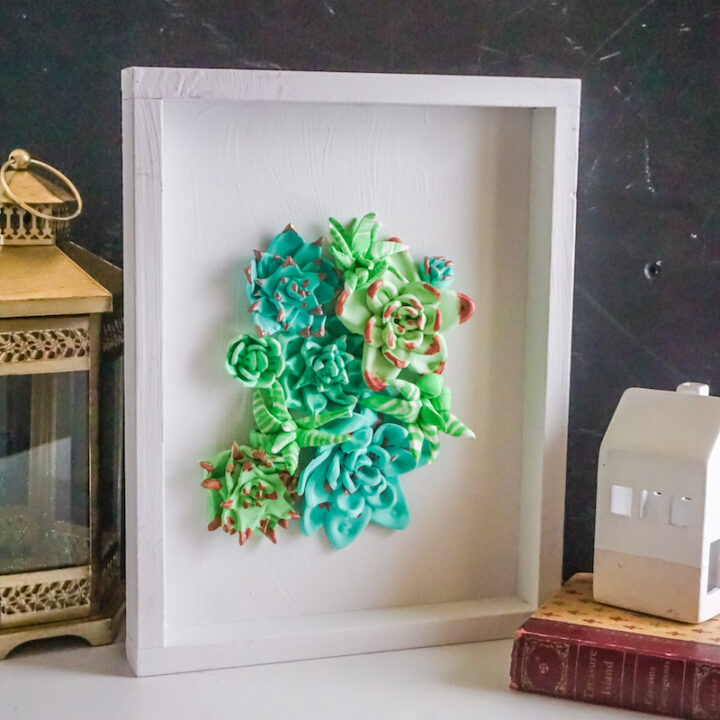
- Hot glue the clay succulent shapes into the center of the painted wood canvas, pressing them together in a tight cluster.
Can you use other paints besides acrylic paint?
You always have the option to use another type of paint but I wouldn’t, if at all possible. Acrylic paint just does a great job of sticking to surfaces and staying on them without washing off or chipping. (and keep this in mind as you’re using it because if you spill it, you’re going to have quite a dilemma to clean up!)
What other fun ideas could you use to decorate this faux succulent?
If you like glitter, you know the answer. Add some glitter on the wood or even the succulent plant itself. If you’re making this simple craft for yourself, then decorate and paint it exactly how you want it.
This faux succulent wall art is a fun and easy way to bring some new “life” to your space. With the bright colors and the crisp background, it really will stand out and “pop” in any room or place that it’s kept!