Here is something fun you can do to add some panache to your terra cotta pots. You know that look that copper gets when it oxidizes? It’s actually a form of corrosion that transforms the copper to copper carbonate. The resulting blue-green coloration when copper oxidizes has a pretty name: Patina, and this patina can be a desirable look depending on what particular style you are looking to achieve.
Faux patinas commonly occur in painted items to bring about that aged quality that makes copper carbonate such a splendid detail in the design. Furniture and fixtures often incorporate this trick, but you can also accomplish a similar look with your potted plants. All it requires is paint and some terra cotta pots and your potted plant project is as good as begun.

For this craft, I encourage you to get super creative. You can cut out stencils to make the design you want and give it this amazing oxidized look through pure acrylic trickery. The only things you need to make this project are the proper stencils and some removable vinyl, which you will want to use on the pot to make the painting go more smoothly.
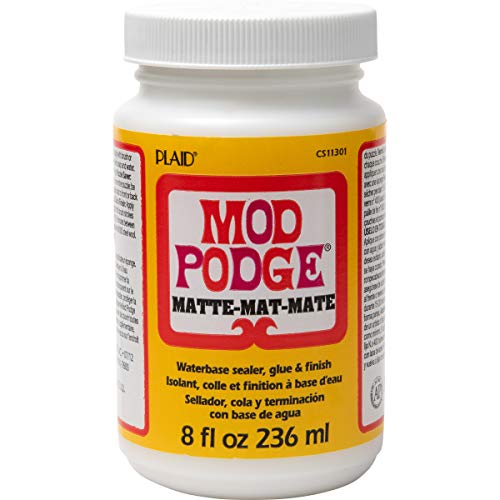
I list an assortment of painting tools for the acrylics, but you should use whatever tools you’re most comfortable with. When it’s all complete, make sure you seal your finished product. I used Mod Podge and it gives everything a really nice finish. See the full list of supplies and the complete list of instructions below.
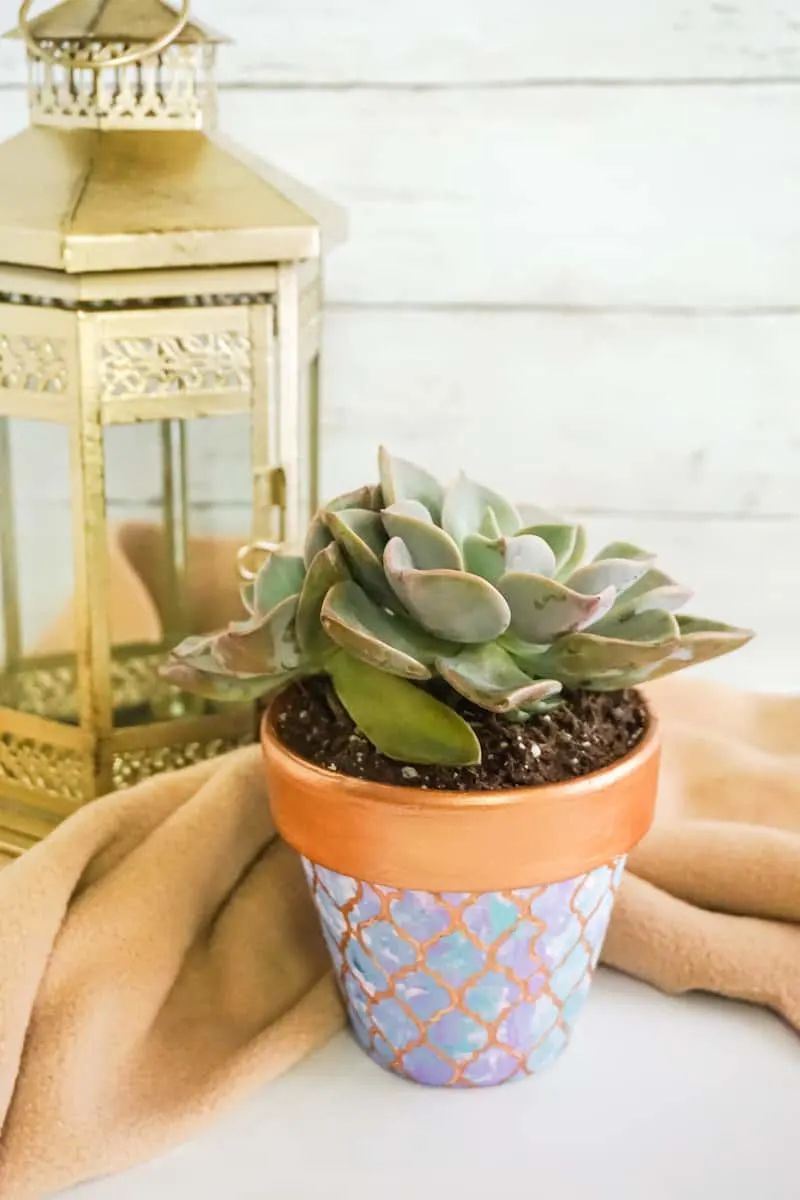
I hope you enjoy this Moroccan arts and craft project and especially admire the outcome of your own handy work. Make sure you Instagram your creation! This patina look really makes potted succulents look fantastic. Once you master it, I’m pretty sure you will want to apply it everywhere else in the room or garden where you keep this plant.
Patterns for the Planter Design
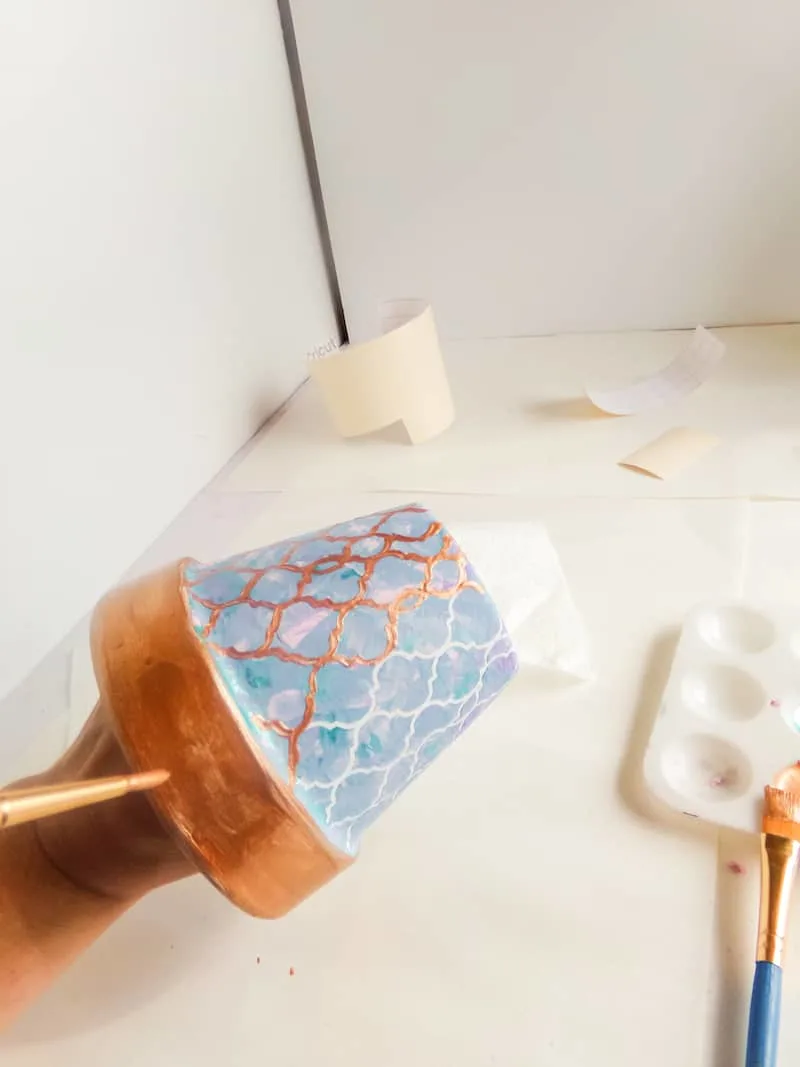
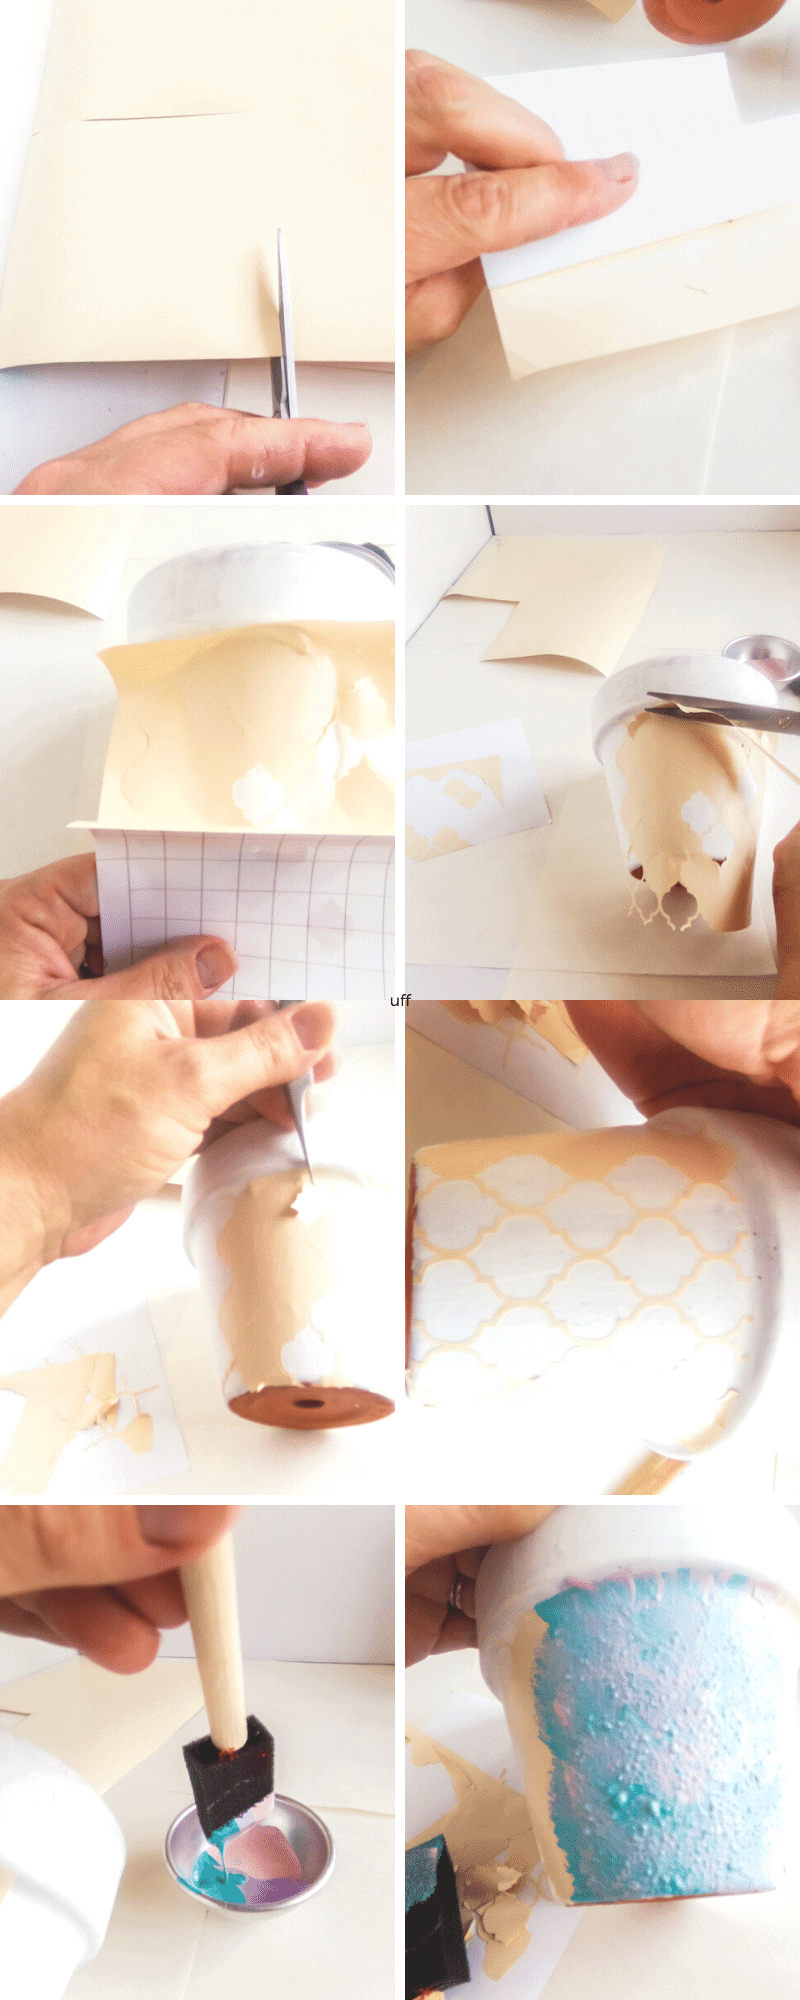
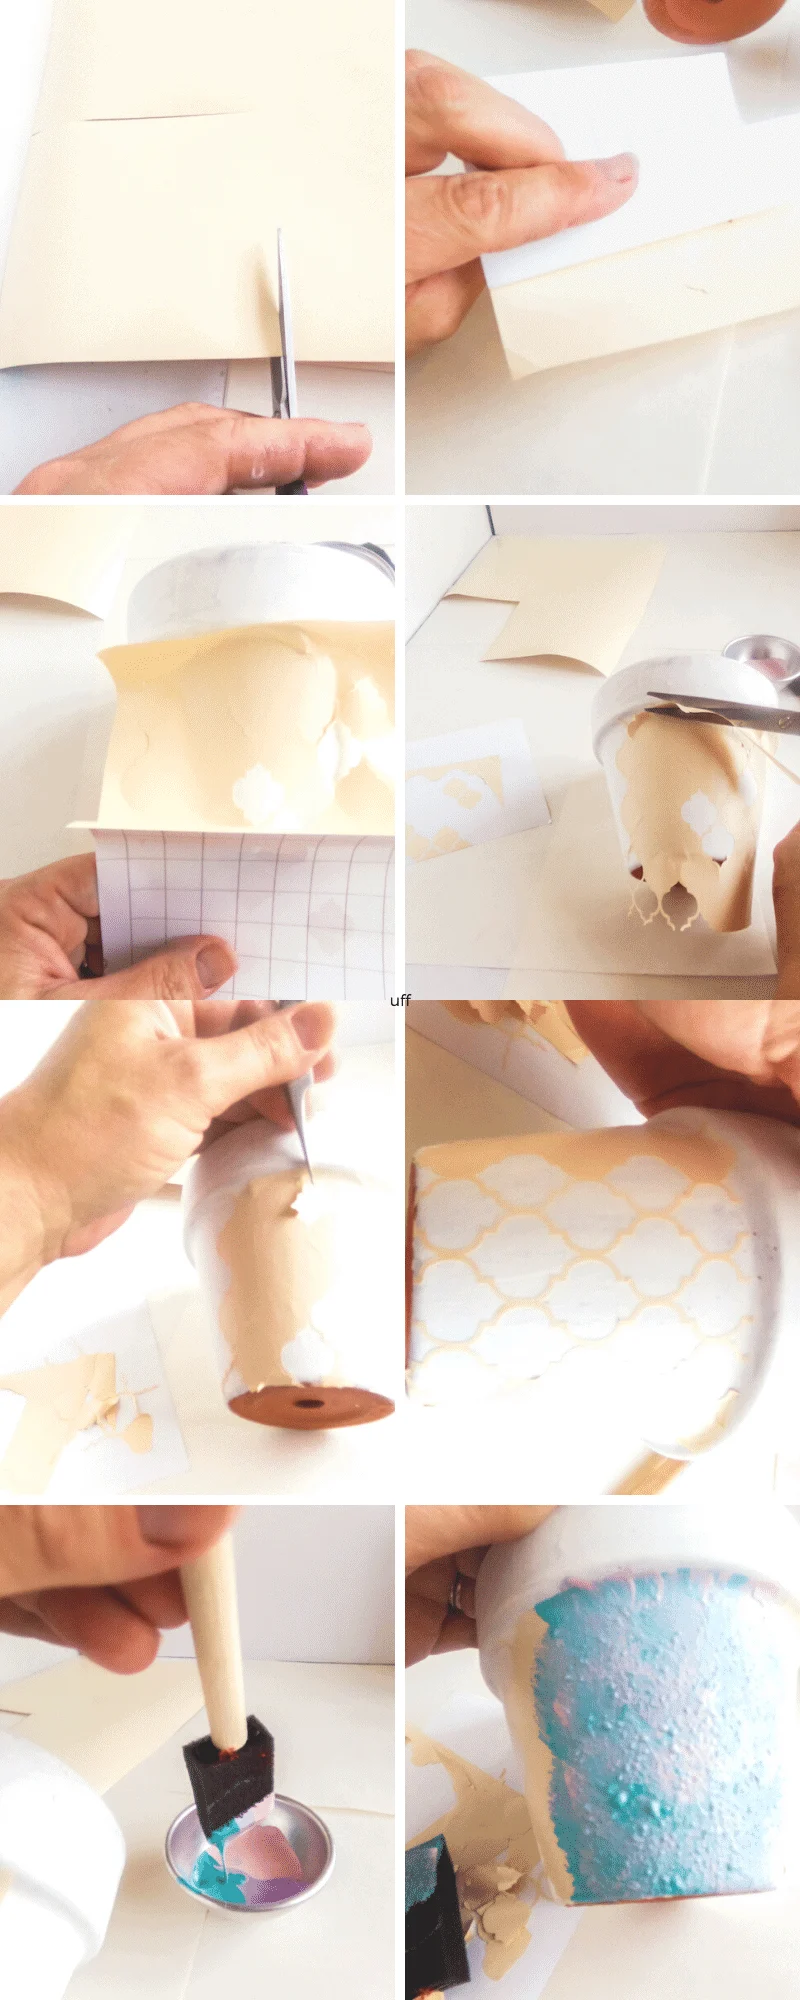
Step by Step Images for Applying the Pattern


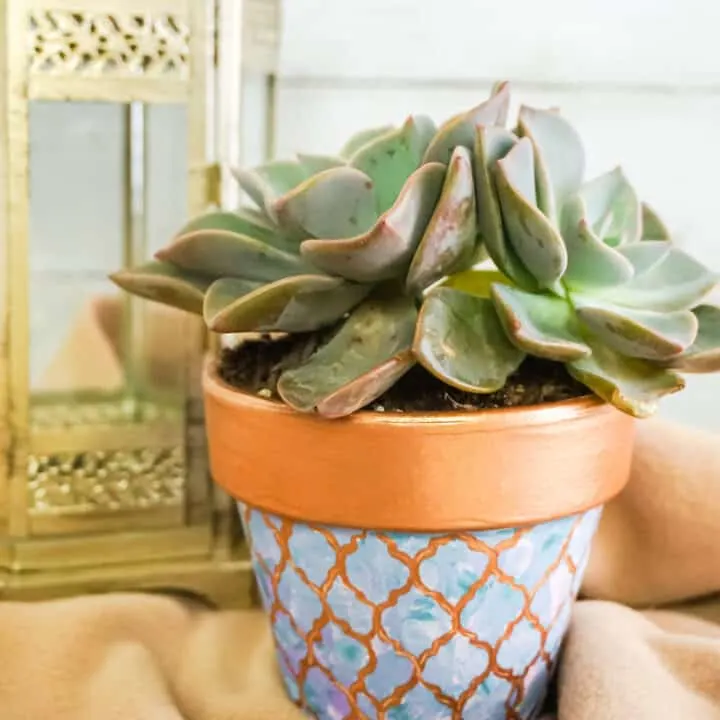
Succulent Painted Pot Project
A fun craft that adds a little Moroccan pop to your home or garden.
Materials
- 1 4-6 inch terra cotta pot
- Cut files or pdf of stencil
- 12x12 sheet removable vinyl (color does not matter)
- Acrylic paint in:
- White
- Pink
- Teal
- Blue
- Purple
- Copper
- Mod Podge or other craft sealant
Tools
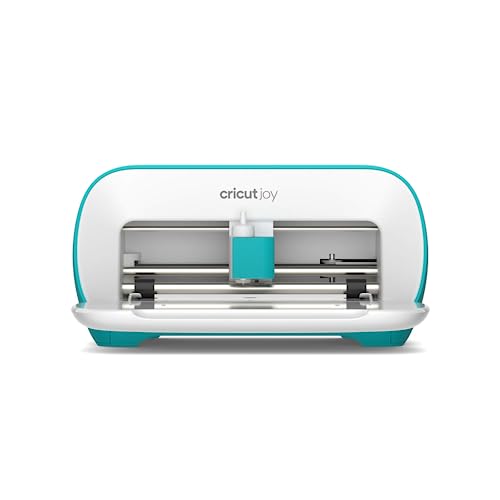
- Cricut Cutting machine or scissors
- Sponge Paint Brush
- Regular Paintbrush
Instructions
Make sure your terra cotta pot is clean then paint the bottom part of the pot (everything below the rim of the pot) with the white paint. Allow the paint to dry completely.
Cut the stencil from the removable vinyl using your Cricut cutting machine or scissors. I cut out 4 squares of the stencil from one 12x12 sheet of removable vinyl and had plenty leftover so that I did not have to reuse any portion of the stencil.
Place the stencil on the pot, without removing the centers of the stenciled shapes so that it holds the shapes nicely. Once placed to your liking, remove the centers of the stencil shapes.
In a small bowl, pour about a teaspoon each of the pink, teal, blue and purple paints. Do not stir them together.
Lightly dip your sponge brush in the combined paint and then pat it onto the pot to make the various shaded colors.
Allow the paint to dry partially (about 10 minutes) then remove the stencil.
Allow the paint to dry completely, then paint the rim of the pot with the copper paint and the spaces between the stenciled shapes.
Allow this last coat of paint to dry completely then apply a coat of craft sealant (Mod Podge). Allow the mod podge to dry and enjoy!
Recommended Products
As an Amazon Associate and member of other affiliate programs, I earn from qualifying purchases.